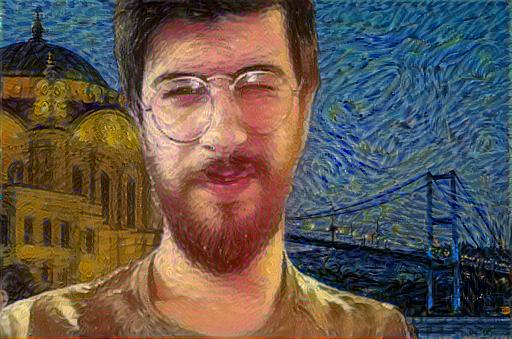
NEURAL STYLE TRANSFER WITH WEB APPLICATION
The reason I started this project was to represent our school for Teknofest, which will be held in Izmir. Thanks to the early completion of the project I developed for the advertising field in the first two weeks, I chose to spend my free time without data labeling in this way.
First of all, I chose to use GAN models for the style transfer project and examined models such as cycleGAN. But then I realized that it would not meet the requirements for long training periods and fine-tuning, and I started working on a more common method. I started developing the Neural Style Transfer project on the VGG19 architecture using CNN (Convolutional Neural Networks).
To use this model, we need to have two input images: One is content and the other is style. By inserting these matrices into our model, we train the model through feature maps and then perform our style transfer. Although I will explain it in detail later, to briefly mention it; We insert our content matrix into the early convolution layers (we do not need to extract many detailed features, our model just learns the boundaries of the object in the content), we also insert our style matrix into the later convolution layers and extract much more detailed feature information. Much finer borders, curve structures, colors, etc. We can do this with the following purpose: To teach our model the style of the picture in the style matrix we chose (in our problem, this is mostly a painter's painting). For example, if we consider Van Gogh, our model learns his brush strokes and applies them to our content matrix. For this process, we display the feature maps of our convolutioned layers in a gram matrix and then examine the correlation of the features with each other in this gram matrix. For example, if a painter has a certain pattern when drawing a painting, our model learns the brush strokes in this pattern thanks to their high correlation and begins to apply it better with each iteration.
To show this correlation on a matrix (we call this matrix the gram matrix), we multiply the matrix consisting of the feature maps by its transpose.
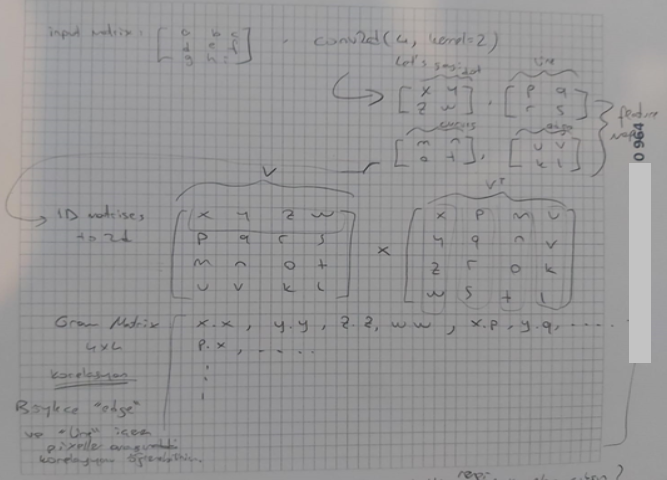
For example, in this image, the gram matrix of the feature map obtained from the fingerprint image has been extracted.
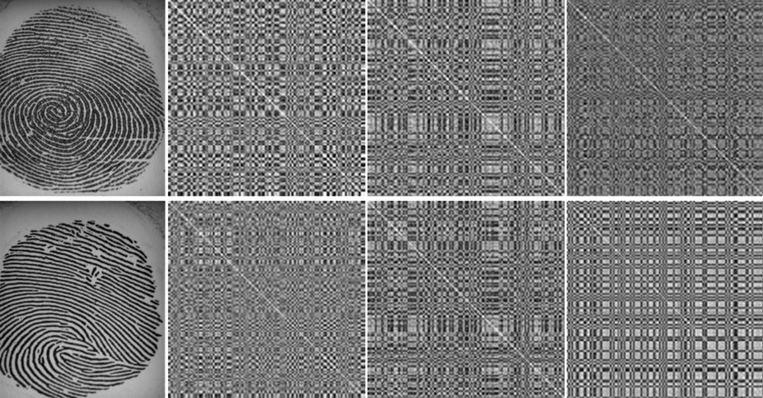
In short, this is exactly what is done:
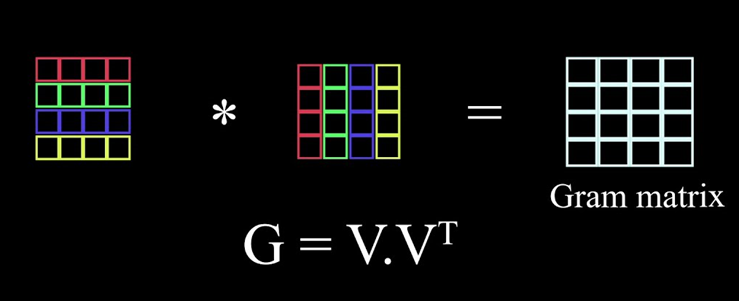
To briefly summarize the order of the process we performed:
Creating Concept Matrices: The first step is to extract the features of the style matrix by passing the style image you will use for style transfer through one of the early layers of the VGG model. This style matrix represents the style image in a way that captures its characteristics. Often different layers can also be selected for higher level style features.
Extracting Features of Style Matrix: Then you send your style matrix to the VGG model and extract feature maps of the style matrix. These feature maps represent high-level features such as texture, color pattern, and stylistic details of the style image.
Creating the Gram Matrix: By calculating the Gram matrix from the feature maps of the style features, you create this matrix of the style matrix that represents the style features. This Gram matrix is an important component that represents the style of the style image.
Preparation of Input Matrices: You send the content image you want to style transfer to the VGG model and extract the content features from a specific layer. These content features represent the basic structure of the content image. At the same time your style matrix is prepared, the style matrix represents the style of the style image.
Style Transfer Process: Now you can start the style transfer process. You create the loss function using the matrices prepared for the content properties and style properties. You use optimization algorithms to create the resulting image by minimizing the sum of content loss and style loss.
Creating the Result Image: While the optimization process continues iteratively, the result image is created containing the style you want to transfer.
Basic Fundemantals of NST(The framework used in the link in this reference is PyTorch, I used Tensorflow in my project, but it is a good resource to understand the concept.):
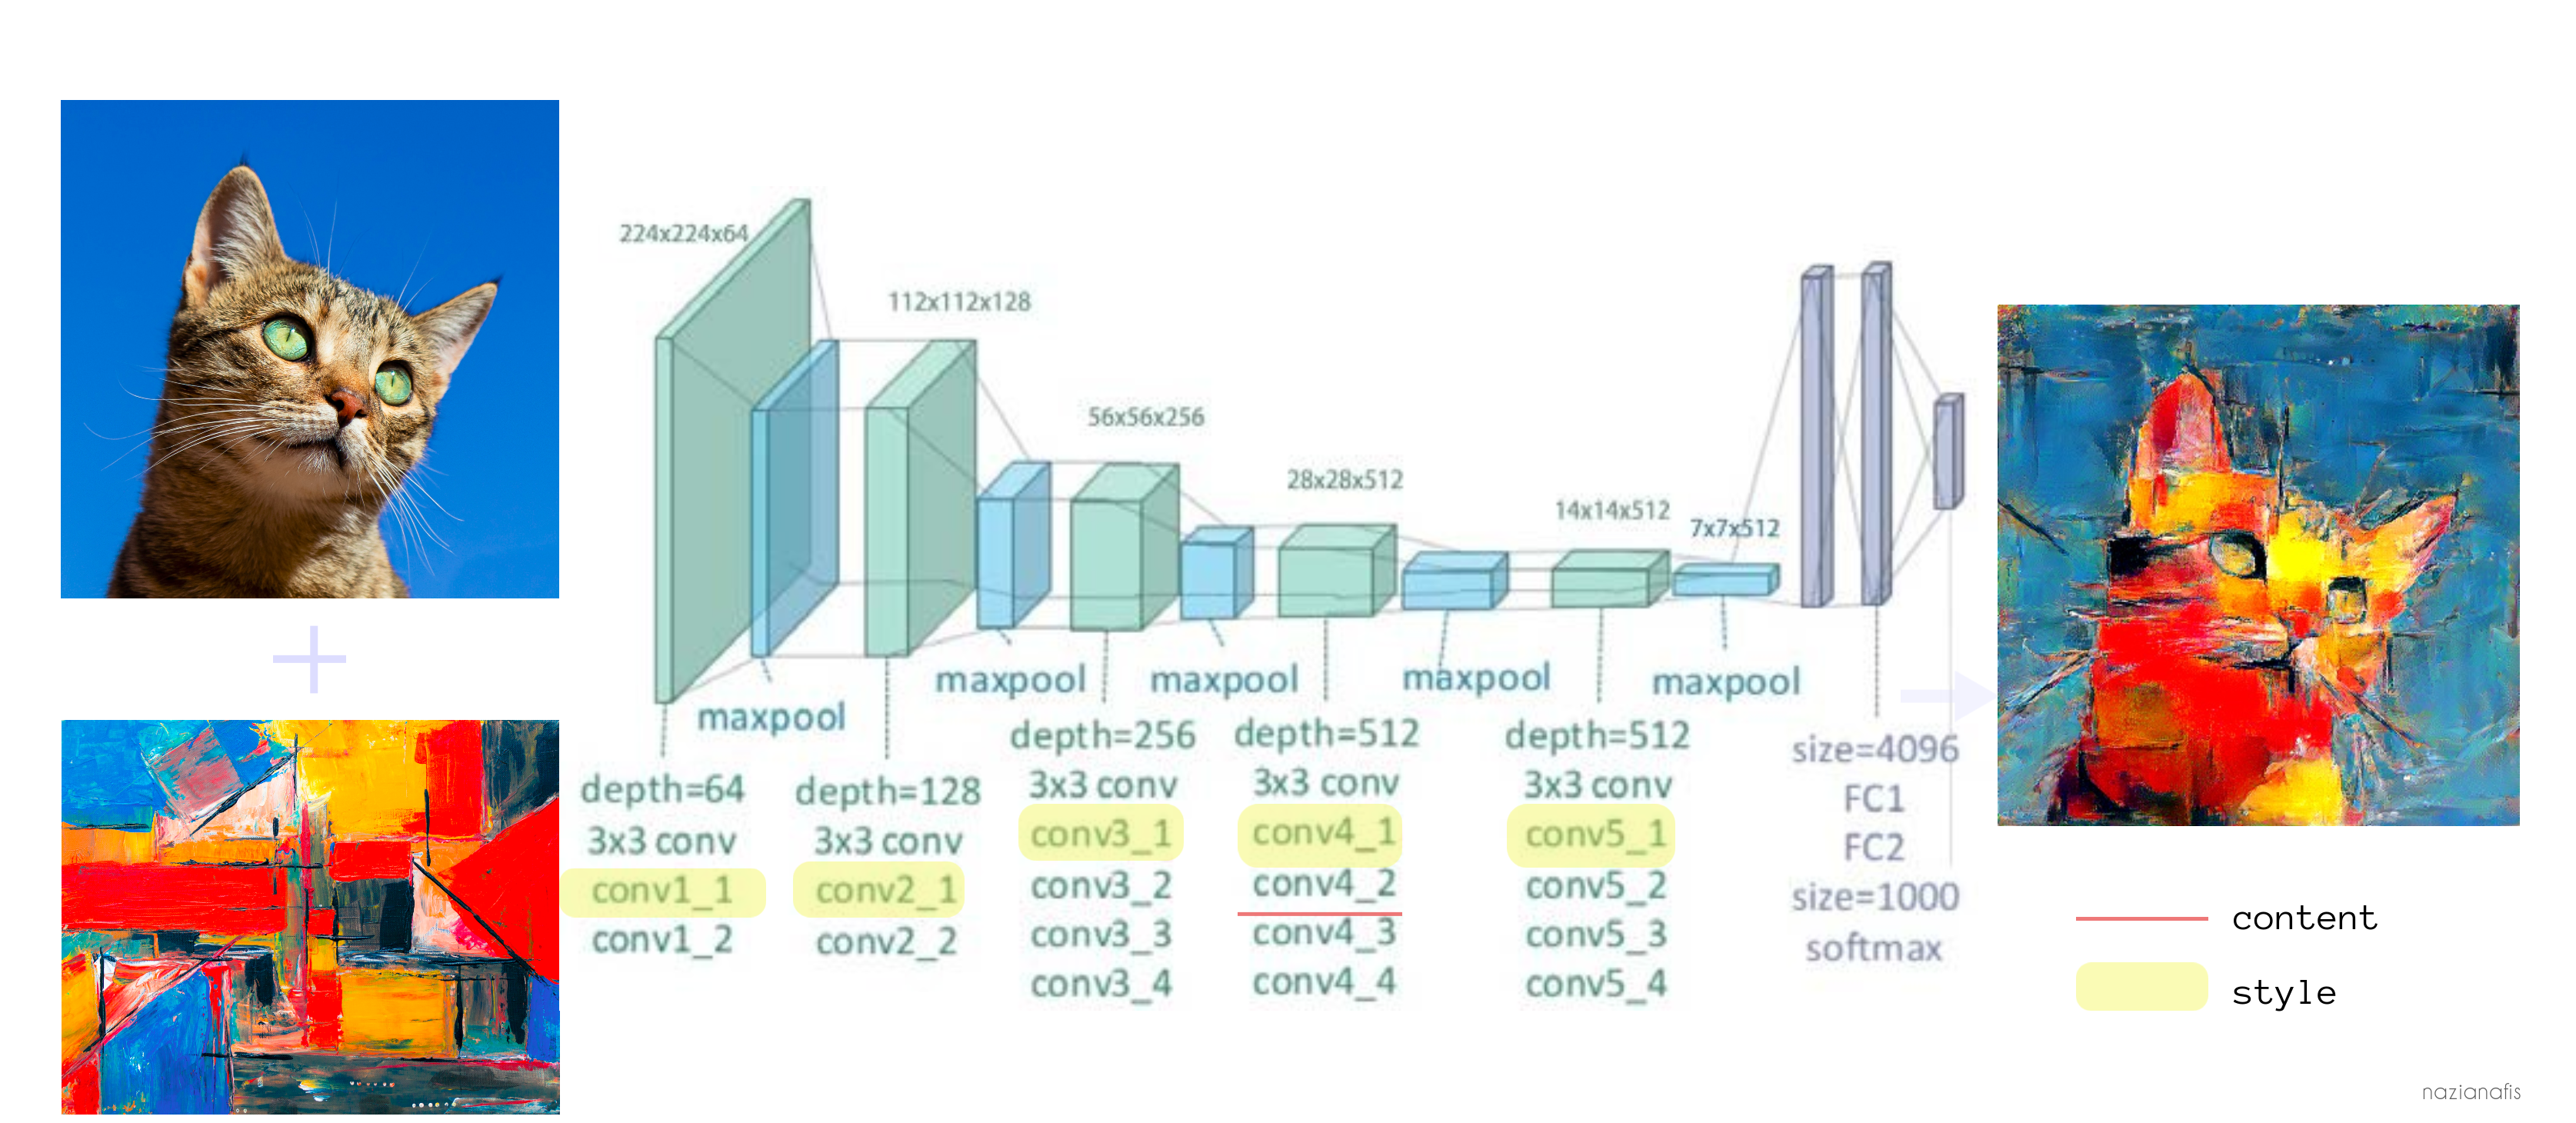
For example, after sending a content and a style matrix to our model, the output looks like this:
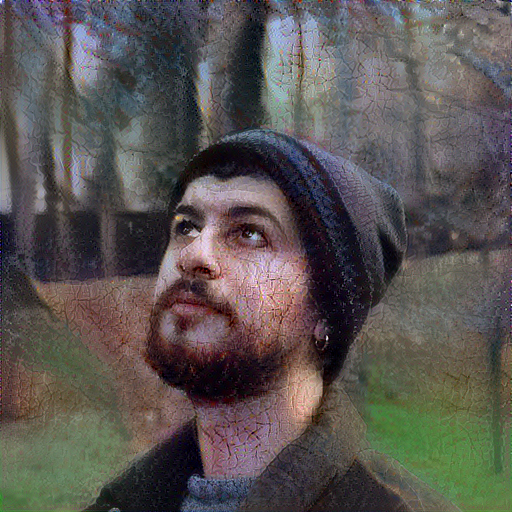
As you can see, this is the result. Our model learned the style of Vermeer's Woman with a Pearl Earring and generated it into my content matrix.
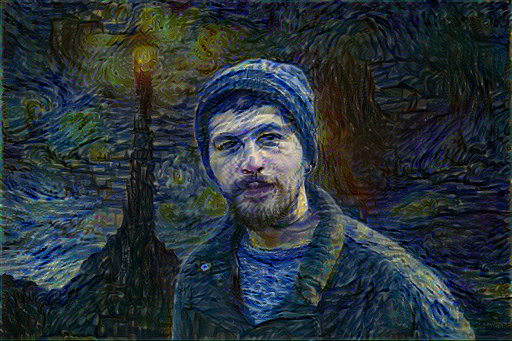
Our project was not limited to this, one of our goals was to delete the background of the image in the content matrix and place the background we selected behind the person in the content. For this, we needed to use a segmentation model, and the way to do this was through OpenCV's rembg library. In this way, it was possible to obtain much more artistic results by adding background to the pictures.
Here is an example image with a background added and style transfer applied:
But the project we wanted to reveal was not exactly limited to this. What I wanted was to provide the image in the content matrix via the webcam of the computer or phone, and the remaining operations would continue as I just explained. For this purpose, an interface was first designed with PyQt5, but since it was quite weak in terms of appearance and insufficient in terms of functionality, I then designed a web application using Flask.
After designing the interface with Flask, I needed to access HTML elements with Javascript, call buttons, etc. to get a webcam image, so I frequently wrote codes in Javascript for this.
I was aiming to run the project quickly using GPU support on my local computer, but I encountered CUDA configuration problems. To overcome this problem, I installed CUDAToolkit, installed CUDNN, downloaded and installed other necessary packages and gave the path of these files to the system variables, but the result did not change, I could not use my GPU on my local computer. I also tried it with different computers, but the result did not change, so I had to find a different way.
So I looked for the solution in a virtual machine. That's why I developed a system that can produce results in 15 seconds using the A100 GPU[14] support in Google Colab.
Here are a few images from the interface:
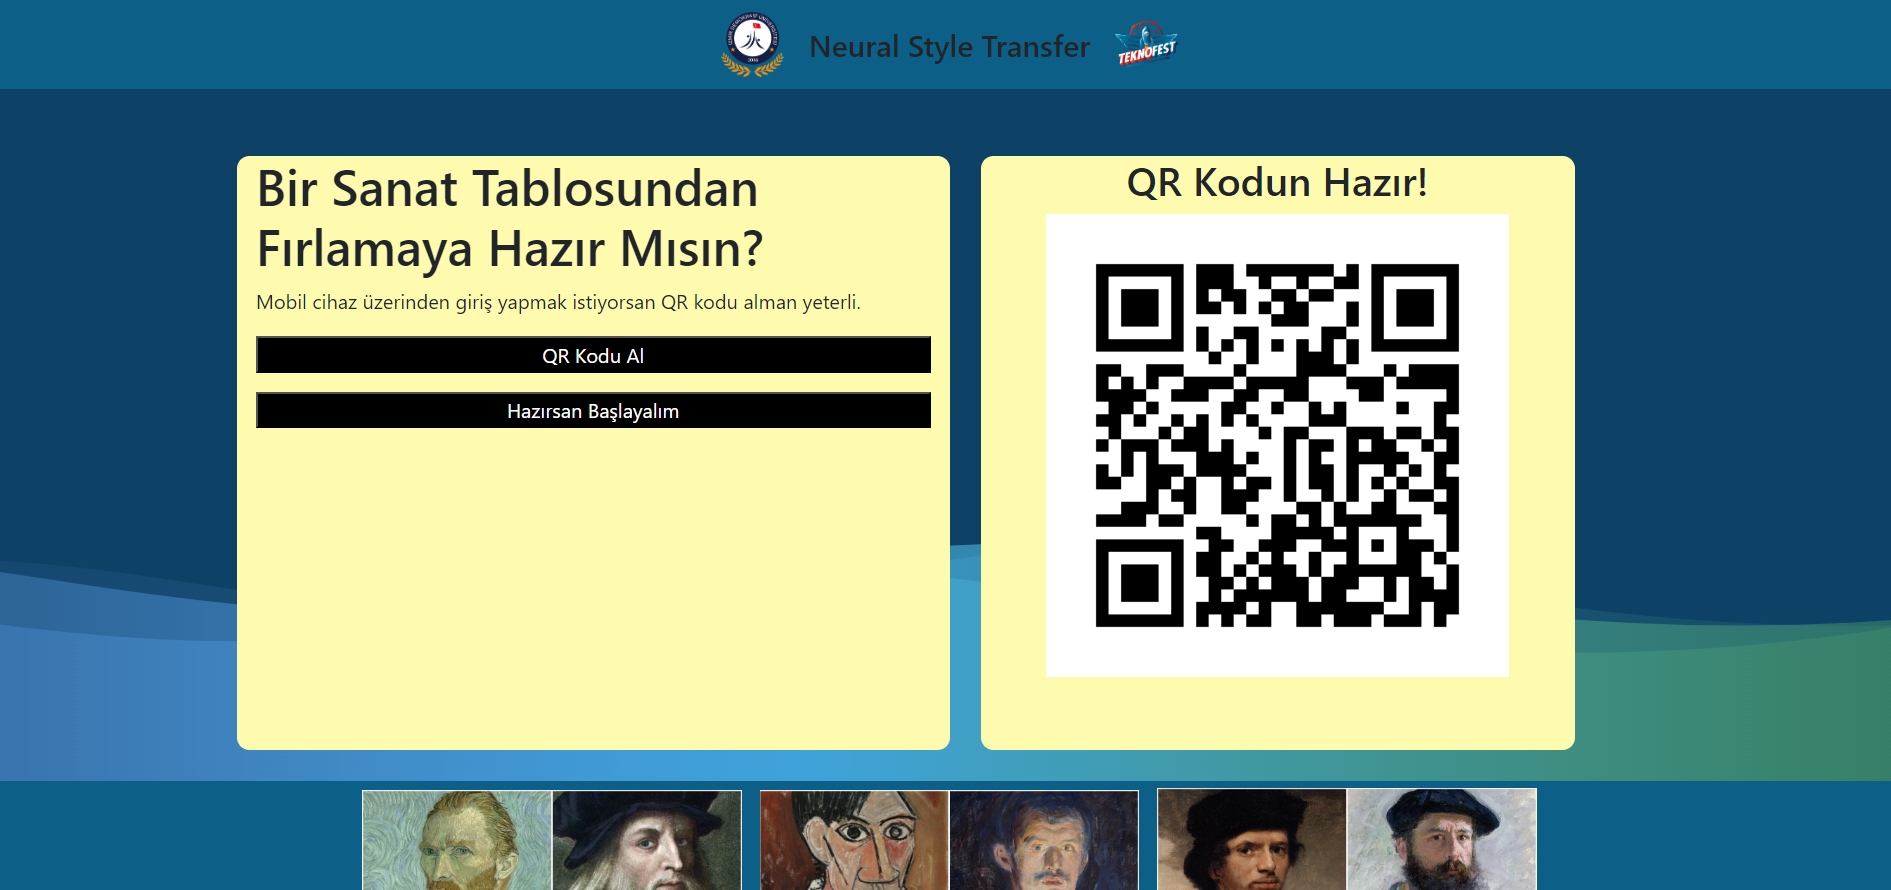
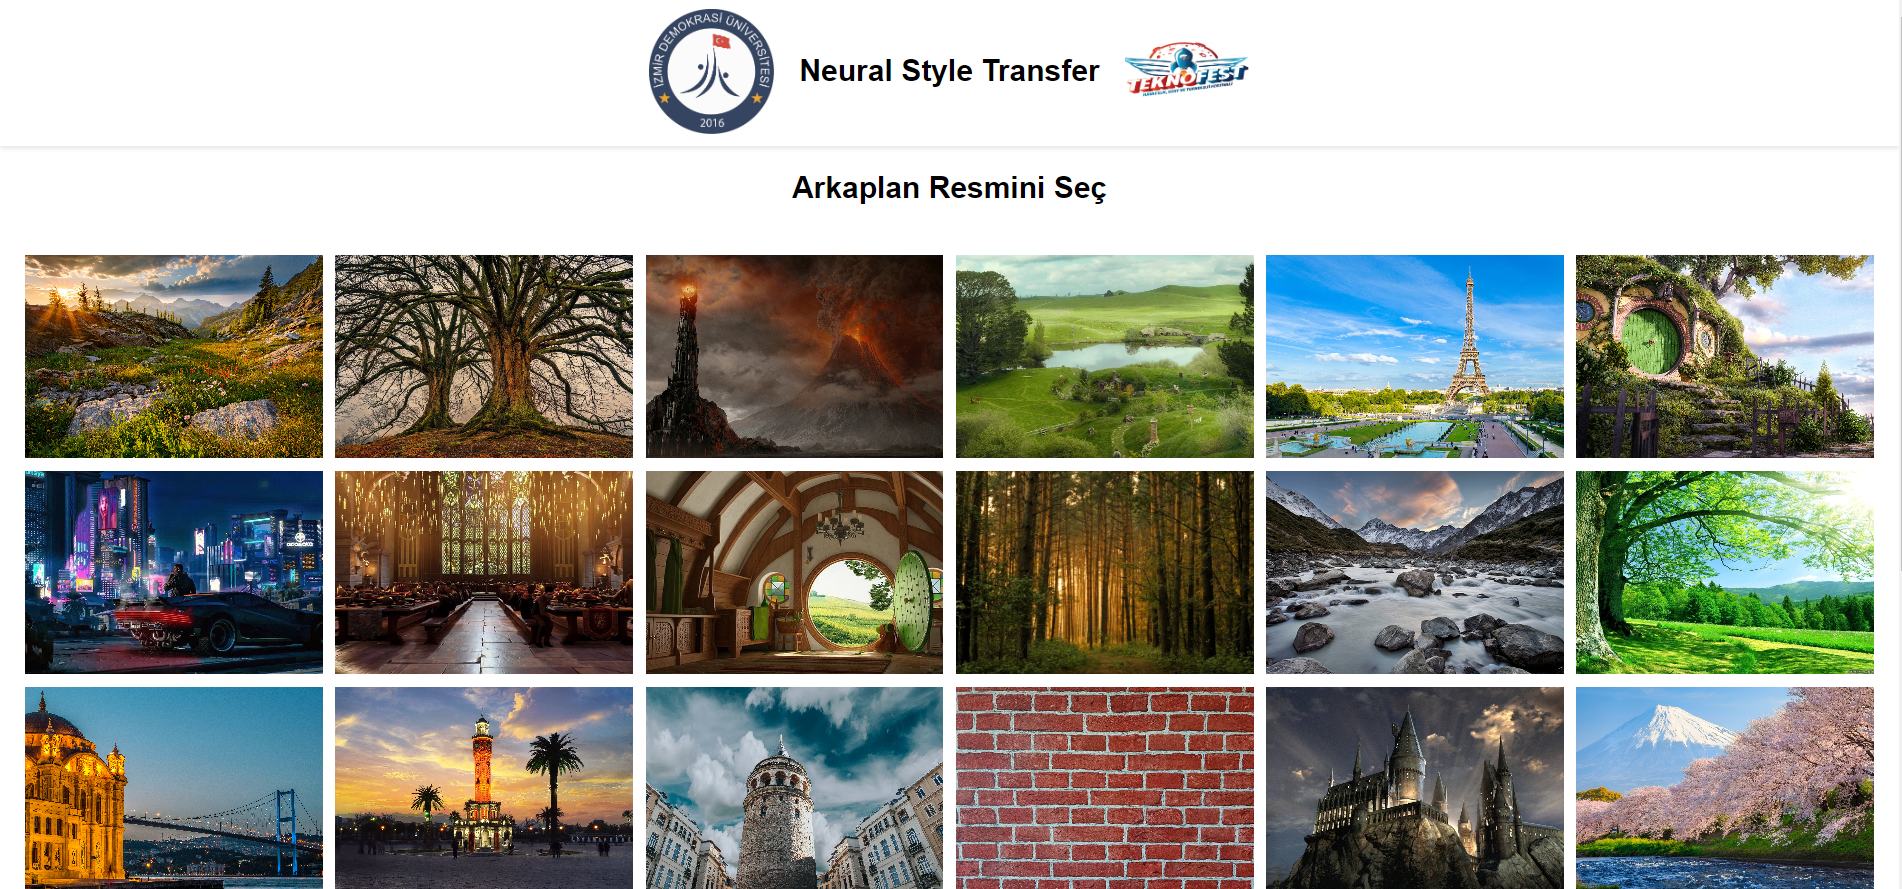
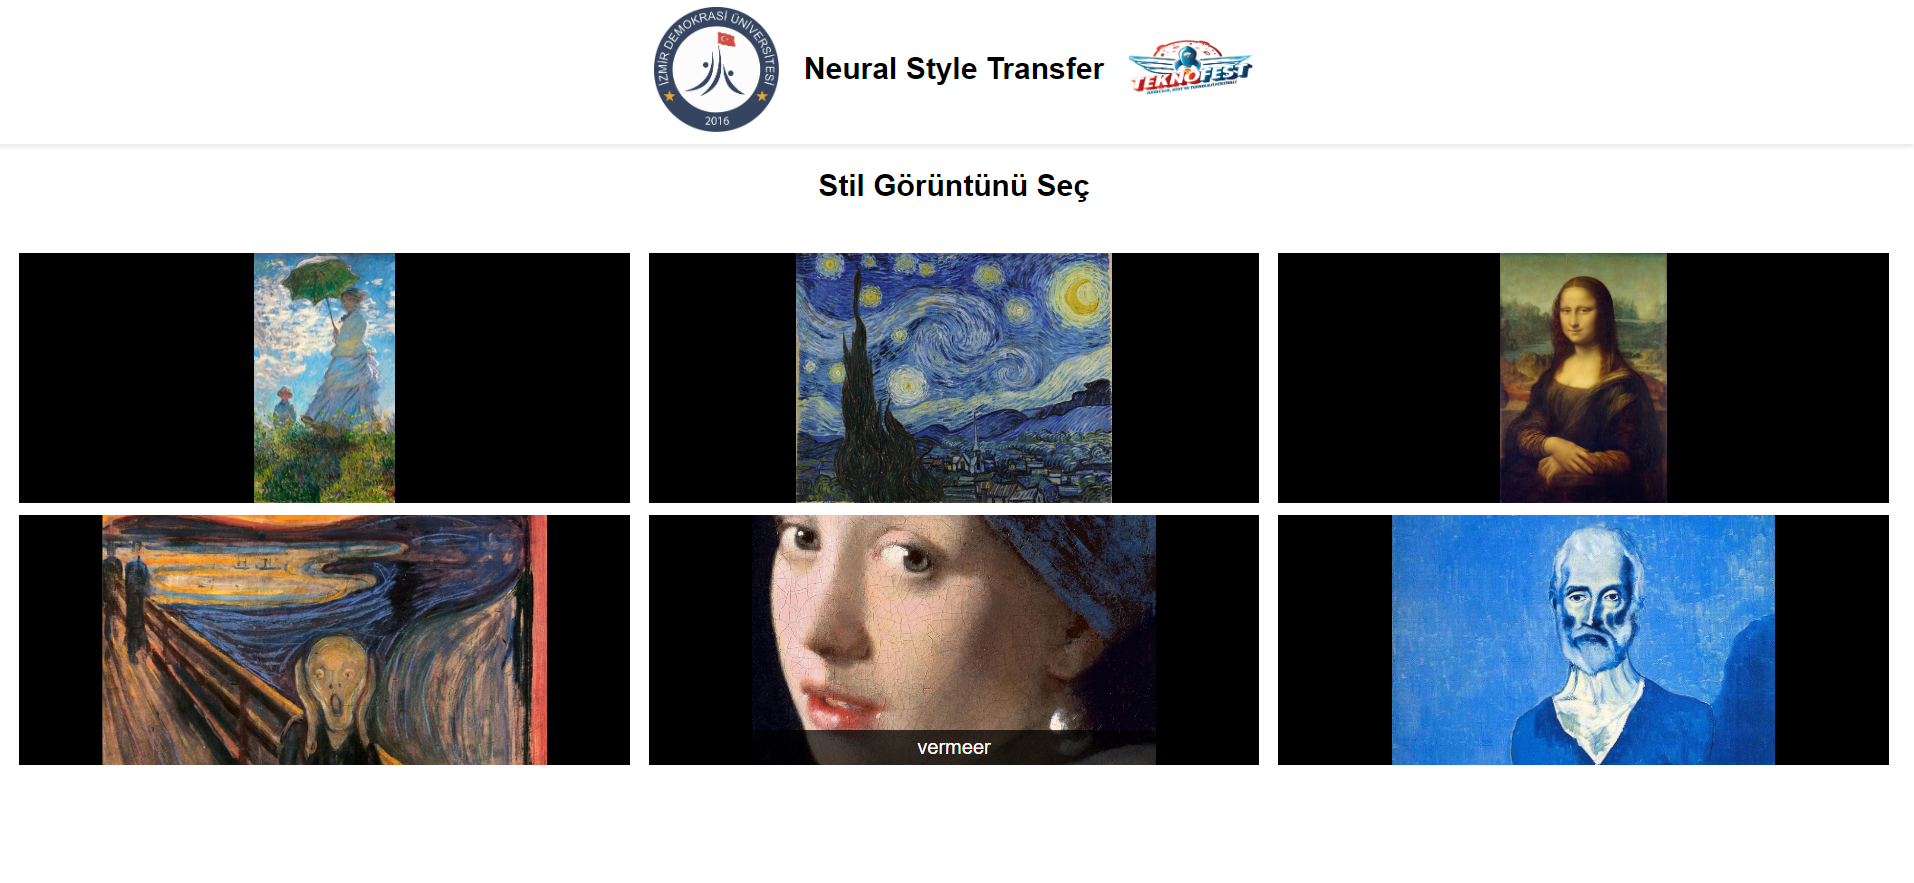
Then a webcam pane opens and when we take the photo and ask for the result, we get the following result:
